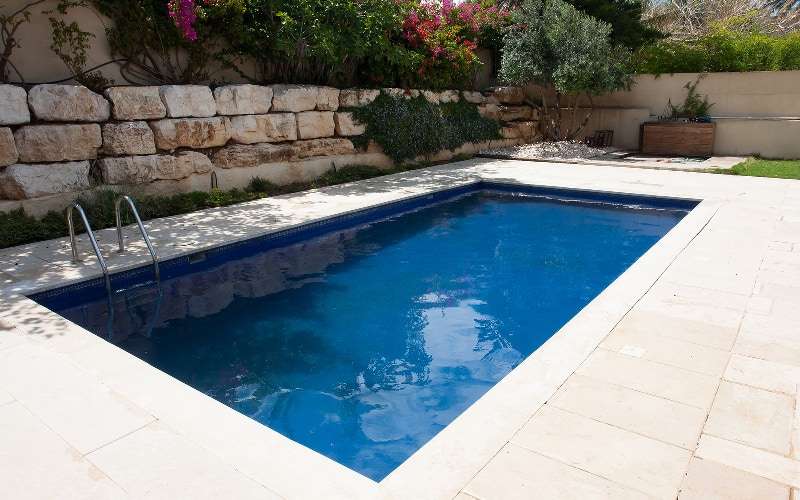


A great swimming pool starts with a great design. In fact, to be honest, sometimes a mediocre swimming pool starts with a great design – meaning it doesn’t live up to expectations due to poor execution. Point is, if you don’t have a great pool on paper, you can’t hope to end up with one in your backyard. It’s the basis for everything that follows.
Of course, not everyone has the budget for a professional architect, or perhaps even the more basic design services of a pool contractor. Whether you’ve decided to install the pool yourself, or plan to eventually hire a builder, you can design your own inground pool by following the steps below. As you might imagine, this is just a high-level overview – there are tons of details and hours (or days) or work involved with each step. However, the end result is definitely worth it.
1. Decide What Type of Pool You Want
As you go through the long planning process, almost everything is likely to get tweaked at some point along the way. That’s to be expected, so don’t sweat it too much if you don’t know everything you want right away. That said, it’s hard to get anywhere if you don’t at least know whether you want a standard rectangular (or oval) pool, an elongated lap pool, or a tiny square plunge pool. You probably already have some idea of what you want or else you wouldn’t have gotten even this far. Now is the time to nail it down.
2. Prioritize Features
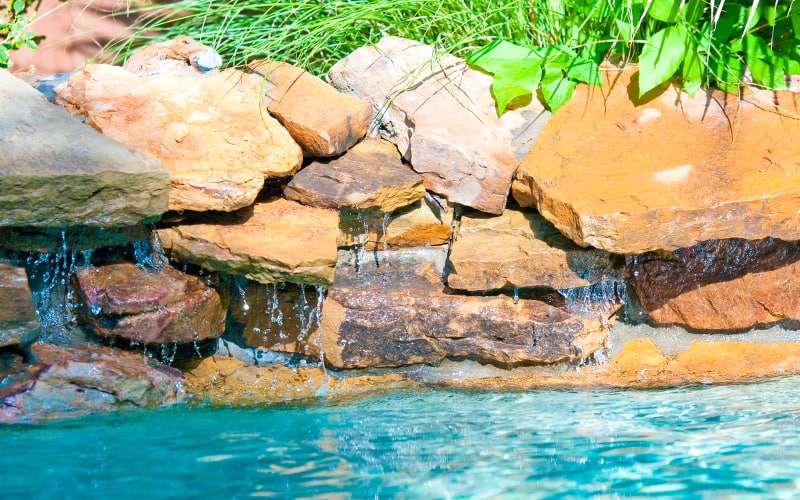
Make a list of all the different features you envision for your pool, divided up into must-haves and like-to-haves. Things on your must-have list should include all required features (pool pump and filter, for example), along with anything that makes or breaks your decision to get a pool in the first place. For example, a diving board might be optional for most people, but if you’re really intent on diving, then there’s no point in considering a design that doesn’t have one.
3. Sketch it Out
How detailed you want to get in sketching out your pool generally depends on whether you’re going to build it yourself or give your design to a contractor. If doing it yourself, you want to have as much detail as possible, and might even want to invest in some landscaping software similar to what the pros use.
If you’re taking the plan to a contractor, it’s up to you to decide how detailed you want to get. One idea is to use a survey map of your property, and then draw in your pool location along with utility lines, trees, and any structures you have on your property.
4. Price It
It’s highly likely that you’ve had cost in mind throughout the process of designing your pool. For example, you may have reckoned right off the bat that you can’t afford an attached spa – so why bother considering it? Now is the time to get a better handle on what you can and can’t afford. If you’re building your own pool, go through your list of features, do some research, and see what works with your budget. Don’t forget to also factor in the cost of building permits in your area and any other costs you may have overlooked.
If you’re hiring a pool company, now is the time to get bids. Take your design and list of features to at least a couple of builders to get written quotes. Make sure your optional features are itemized so you know what the pool would cost with and without them. Along with a price quote, an experienced pool builder will also give you a reality check on your design and suggest improvements.
5. Go Back to the Diving Drawing Board
Based on everything you’ve learned to this point, you’ll probably need to go back and revise your design. You may even find yourself throwing it out and starting over. That’s okay. While you’re still in the design phase, you should take as much time as you need to get your ideal pool on paper. Once the project begins, it becomes a lot more complicated to change things.